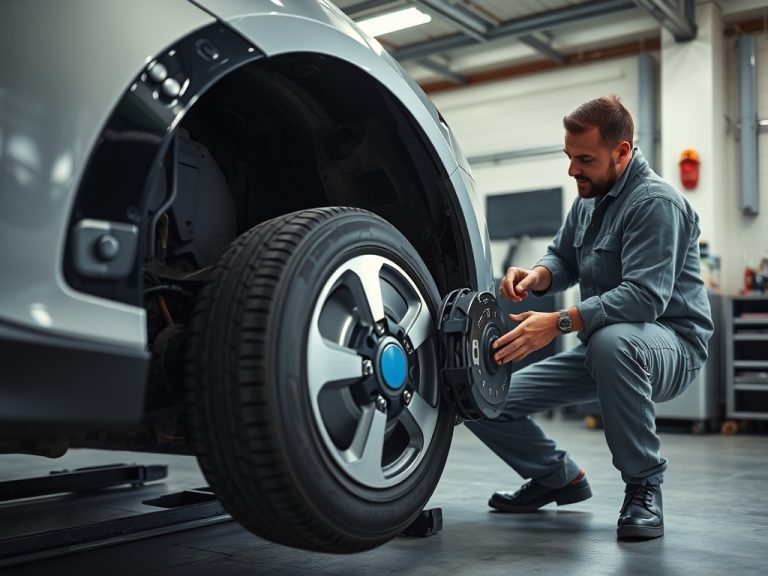
Jack stands, wheel chocks, and torque wrenches are safety tools, not accessories. Use them in the right order: secure the vehicle from rolling, lift only at approved points, support the load with rated stands on a hard level surface, and tighten fasteners to the vehicle manufacturer's specification with a calibrated torque wrench.
Safe-lift snapshot: A hydraulic jack lifts; it should not be treated as the only support while you work. Chocks reduce rolling risk, jack stands carry the supported load, and torque wrenches help prevent under-tightened or over-tightened wheel fasteners.
Start with the surface, not the tool
The safest repair begins before the jack touches the vehicle. Choose a flat, solid, well-lit surface. Concrete is usually preferable to asphalt, dirt, gravel, or a sloped driveway because stands need a stable base. If the ground is soft, uneven, or wet, the job has already moved beyond routine driveway work.
The Canadian Centre for Occupational Health and Safety advises placing jacks on a dry, level, clean surface and using the vehicle manufacturer's recommended jacking points. That same guidance also calls for wheel chocks at the diagonal wheel when one corner is raised, which is a simple step many DIY repairs skip.
A general best practice is to read the owner's manual before lifting. The manual identifies jacking points, spare-tire procedures, and warnings that may differ by trim, battery location, suspension design, or body construction. If the vehicle is an EV or hybrid, do not improvise around high-voltage components.
Tool roles at a glance
| Tool | What it does | What it does not do |
|---|---|---|
| Floor jack or scissor jack | Raises the vehicle at an approved point | Provide safe sole support while you work underneath |
| Jack stands | Support the vehicle after it is lifted | Lift the vehicle or compensate for unstable ground |
| Wheel chocks | Help prevent rolling while a wheel is raised | Replace the parking brake or proper transmission position |
| Torque wrench | Tightens fasteners to a specified value | Judge bolt condition, thread damage, or wheel seating by itself |
The OSHA record on inadequate vehicle support stands is workplace-focused, but the safety lesson translates to home garages: rated capacity, manufacturer markings, and proper contact matter. Do not use blocks, rims, lumber, or a jack alone as a substitute for stands.
Step-by-step: a safer wheel or underbody setup
- Park on a firm, level surface away from traffic. Put the transmission in park or in gear for a manual, set the parking brake, and switch the vehicle off.
- Place wheel chocks at the wheel or wheels that should remain on the ground. If lifting one front corner, chock the opposite rear wheel as a minimum.
- Loosen wheel nuts slightly before lifting if you are removing a wheel. Do not fully remove them while the tire is carrying vehicle weight.
- Position the jack only at the approved lift point. Lift slowly and watch for vehicle movement, jack angle, or surface cracking.
- Place matched jack stands at approved support points and lower the vehicle gently onto them. The jack can remain nearby as a backup, but it should not carry the working load.
- Give the vehicle a controlled stability check from outside the danger zone. If it shifts, creaks, or looks uneven, lower it and start over.
- Perform only the work you are equipped to do. Never put any part of your body under a vehicle that is not properly supported.
- When reinstalling a wheel, snug fasteners in the correct pattern, lower the vehicle enough to keep the tire from spinning, and torque to the manufacturer's specification.
AAA's tire-change guidance emphasizes getting out of traffic, setting the parking brake, using wheel wedges, and keeping passengers away from the roadway. Those same habits apply in a driveway because the risk is not only mechanical; it is also about space, visibility, and distraction.
Torque is a specification, not a feeling
A torque wrench helps apply a measured twisting force to a fastener. That matters because lug nuts or bolts hold the wheel against the hub under braking, cornering, and road impact. Too little clamping force may allow movement. Too much can damage studs, distort parts, or make future roadside removal harder.
Use the torque value from the owner's manual or manufacturer service information. Avoid guessing based on socket size or vehicle category. Also avoid using a torque wrench as a breaker bar, dropping it, or storing it under load. A click-type torque wrench should be reset according to its instructions after use.

Mistakes that turn a simple job into a dangerous one
- Working on a slope because the repair seems quick.
- Placing a jack under a floor pan, battery tray, control arm, or trim piece not designed for lifting.
- Using one stand off-center instead of a matched pair when supporting an end of the vehicle.
- Crawling under a vehicle while it is supported only by a hydraulic jack.
- Using random objects to gain extra height.
- Reinstalling wheels with an impact wrench and never checking torque.
- Forgetting to recheck for wheel vibration, loose trim, or abnormal noise after the first short drive.
If a job involves brake service, suspension work, steering components, or high-voltage EV areas, the risk rises. That is one reason brake service on EVs can look different even when the visible work resembles a conventional brake inspection.
When DIY makes sense and when to stop
DIY is reasonable for checking tire pressure, inspecting visible leaks, rotating tires if you have proper equipment, and removing a wheel for a simple visual inspection. It becomes less sensible when the vehicle is unstable, the lift point is unclear, the fasteners are damaged, the wheel is seized to the hub, or the repair requires bleeding brakes, compressing springs, or working under the vehicle.
Temperature and fluids also change the risk profile. A cooling-system inspection may seem simple, but coolant type and pressure matter. If you are chasing an overheating symptom, read about why coolant type matters more than color before topping off with the wrong product.
How to verify the result after lowering the vehicle
After the job, confirm that all tools are removed, the stands are clear, and the vehicle is fully lowered before final torque. Use the specified pattern, usually a star or crisscross sequence, and make a clean pass with the torque wrench. Then take a short, low-speed test drive. Listen for clicks, clunks, scraping, or vibration. If anything feels wrong, stop and recheck before driving farther.
If the vehicle was lifted for an A/C, belt, underbody, or leak inspection, do not let the successful lift create false confidence. Some failures, including A/C compressor failure, require diagnostic equipment and refrigerant handling that should not be improvised at home.
A Safer Way to Finish the Job
The safest DIY repair is the one that ends with the vehicle stable, the fasteners torqued correctly, and the owner willing to stop when conditions are not right. Use the tools for their intended roles, follow the manufacturer's lifting and torque information, and bring in a professional when the work moves from inspection to critical safety repair.
For your next job, make a one-page checklist with lift point, stand location, chock location, torque value, and test-drive notes before you loosen the first nut.