Homeowners can often pair insulation upgrades with renovation work when walls, attics, floors, siding, roofing, or mechanical systems are already exposed. The smartest upgrades are coordinated with air sealing, moisture control, ventilation, electrical safety, and the home's future heating and cooling plans.
Renovation Pairing Note: Do not choose insulation by R-value alone. During renovation, look at air leaks, water paths, vapor control, existing cavities, access, combustion safety, ventilation, and code requirements. The best project is the one that improves comfort without trapping moisture or hiding future maintenance problems.
Why renovation is a good time to upgrade
Insulation work is easier when assemblies are open. A kitchen remodel may expose exterior walls. A reroof may expose roof deck issues. Siding replacement may create access for exterior insulation or weather-resistive barrier improvements. Basement finishing may expose rim joists and foundation walls. These moments reduce disruption compared with opening finished surfaces later.
The Department of Energy's guidance on air sealing your home points homeowners toward sealing leaks and considering a home energy assessment, especially during larger remodels. That order matters. Insulation slows heat flow, while air sealing reduces uncontrolled air movement. If air leaks remain, added insulation may not perform as expected and can sometimes contribute to condensation concerns.
Homeowners should also think ahead. If a renovation may later lead to a heat pump, new ductwork, a finished attic, or electrification work, the insulation scope should support that plan. The article on HVAC reliability planning is a useful reminder that comfort work, equipment access, and maintenance expectations should be coordinated early.
Pairing opportunities by renovation type
| Renovation work | Insulation or air-sealing opportunity | Key caution |
|---|---|---|
| Roofing or attic work | Attic air sealing, insulation levels, baffles, roof deck checks | Do not block ventilation paths unless assembly is designed differently |
| Siding replacement | Exterior sheathing repairs, weather barrier, continuous insulation options | Manage flashing and vapor control carefully |
| Kitchen or bath remodel | Open exterior walls, penetrations, fan ducting, plumbing chases | Control moisture and exhaust routing |
| Basement finishing | Rim joists, foundation walls, slab edge, duct sealing | Address bulk water before insulation |
| Window or door replacement | Air sealing around openings, flashing continuity | Insulation cannot compensate for poor water management |
Air sealing comes before adding more insulation
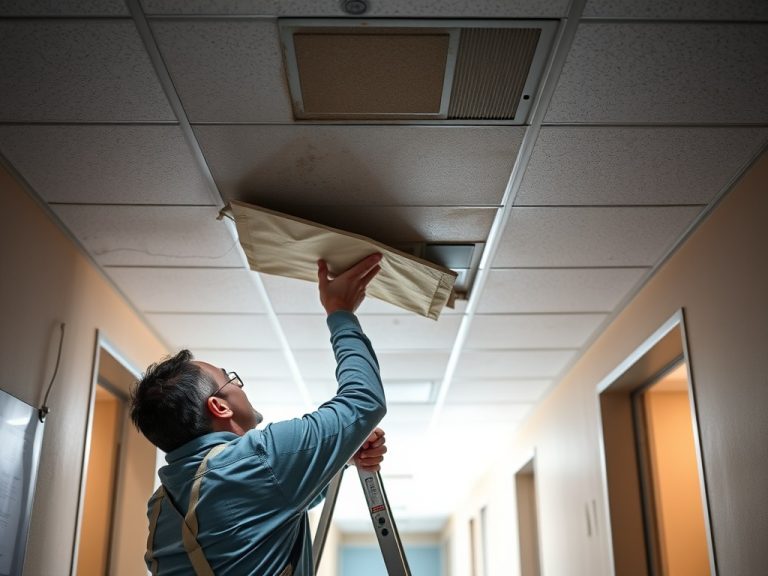
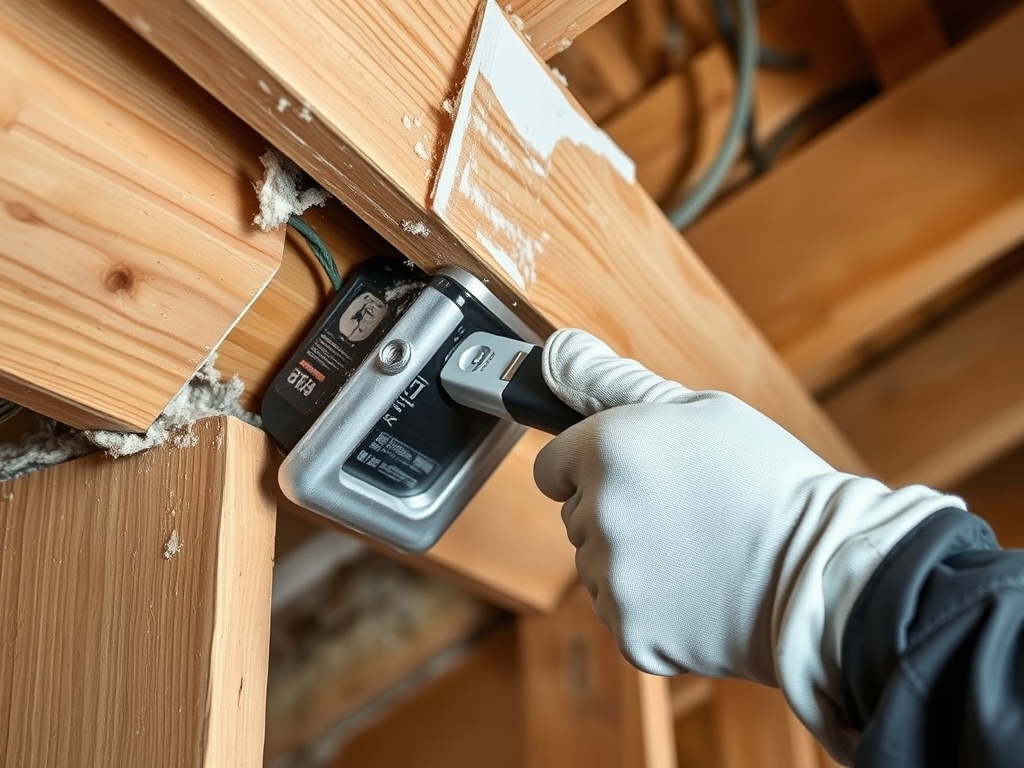
Common leakage points include attic hatches, recessed lights, plumbing penetrations, wiring holes, duct chases, rim joists, top plates, dropped ceilings, and gaps around windows or doors. Some are accessible during renovation and very difficult to reach afterward. A contractor should identify which leaks are safe and appropriate to seal, using materials suited to the location.
ENERGY STAR's Seal and Insulate resources describe sealing air leaks and adding insulation as ways to improve comfort and energy efficiency. The savings potential depends on climate, existing conditions, energy prices, workmanship, and occupant behavior, so homeowners should treat any estimate as a planning aid rather than a guaranteed result.
Air sealing also affects ventilation. A tighter home may need better mechanical ventilation, especially in kitchens, baths, laundry rooms, and high-occupancy spaces. Do not close up assemblies without confirming that moisture can dry safely and that exhaust equipment vents outdoors as intended.
Moisture control is the hidden design issue
Insulation mistakes often show up as moisture problems. Wet basements, roof leaks, poor flashing, missing bath fan ducting, and cold surfaces can create mold risk or material damage. Before insulating, correct bulk water paths. Then evaluate vapor control and drying potential for the climate and assembly.
EPA's Indoor AirPlus program focuses on practices and specifications that support indoor air quality in homes. While homeowners renovating an existing home may not be pursuing certification, the underlying idea is useful: insulation, moisture control, pollutant control, and ventilation should be considered together.
Contractors should also protect installed insulation during the rest of construction. Wet insulation, compressed batts, gaps, voids, and poorly fitted pieces reduce performance. If drywall is going up, inspect cavities first. If attic work is underway, mark safe walking paths and protect soffit ventilation.
What not to hide behind new drywall
Before cavities are closed, check for unsealed penetrations, disconnected bath fan ducts, damaged sheathing, old water staining, pest pathways, knob-and-tube or outdated wiring concerns, and framing gaps that will be inaccessible later. A simple pre-close inspection with photos can prevent disputes and gives the homeowner a useful record of what was improved.
Insulation should be installed at full depth, in full contact with the air barrier, and without compression or voids where the product requires that approach. If the contractor finds conditions outside the original scope, such as wet framing or missing flashing, pause and solve the source rather than burying it.
Homeowners can also ask for simple verification. Photos before cover-up, blower-door testing where appropriate, infrared review in the right conditions, and written product information can help confirm that the upgrade was installed as planned. Verification is especially useful when multiple trades work in the same cavities.
Questions to ask before approving the scope
Ask what assembly is being improved, what air sealing is included, what moisture source has been checked, what ventilation changes are needed, and how the work will be inspected before it is hidden. Also ask what code or program criteria apply in your jurisdiction. Energy codes, rebate programs, tax credits, and product requirements can differ by location and by year.
Safety should be part of the conversation. Renovation work may involve ladders, dust, old wiring, recessed lights, vermiculite, pests, or confined areas. Crews should use task-appropriate protection and procedures. For homeowners comparing scopes, the internal PPE selection guide offers a plain overview of how protective equipment connects to the work being performed. If the renovation creates a temporary shop or staging area, the charging station setup guide can help keep cordless-tool charging from becoming an improvised hazard.
Renovation pairings that protect comfort
The best insulation upgrade is often the one paired with work already happening. During design, walk each room or assembly and ask: what will be exposed, what can be sealed, what water path must be fixed, what future mechanical upgrade is likely, and what needs inspection before cover-up?
A good next step is to request a renovation-specific envelope checklist from your contractor or energy professional before demolition begins. That keeps insulation from becoming an afterthought after the easy access is gone. This article is informational only and does not replace professional energy, building science, engineering, environmental, code, legal, compliance, or project management advice.